Using optimal solutions when creating a website or application is key for reaching a successful result. When it comes to UI and frontend development, therefore, the ReactJS framework cannot be left unmentioned.
On this page, you can get acquainted with the use of ReactJS in Magento, the ways that it can be implemented, as well as the advantages and disadvantages of the listed options. For convenience, you may use this short navigation menu.
Table of Content
What Is ReactJS?
First things first, let’s get a basic understanding of what is React programming. React (also often referred to as ReactJS or React.js) is a Javascript library that’s used for creating user interfaces.
This framework could serve as the basis when and single-page applications. Flexibility and the simplicity of use of React components can be listed among its major advantages.
To put it simply, in order to build applications using React, it is necessary to write components for different elements of the interface, such as buttons. In turn, components are organized in a hierarchical structure to shape out the needed page elements in the required order as a result.
What Is ReactJS Used for in Magento 2?
In the case of developing on the Magento eCommerce platform, the React framework is applied for building the frontend of progressive web application sites (you can browse these two articles for or ).
If you want the same engaging UX for your store as in the examples, you may need to create custom components from the ground up and separate code into reusable pieces. Contact our experienced to avoid errors, bugs, and other issues during the process.
, a French B2B IoT marketplace, faced performance and usability challenges. To address these, we transformed the store into a progressive web app using ReactJS, significantly enhancing speed and user experience on both desktop and mobile.
Additionally, we optimized website performance, integrated new backend modules, and added essential features, such as quote requests and improved customer-seller messaging. Learn more on our .
In particular, why is React often-used in Magento?
React is just one of the frameworks that can be used for PWA creation, yet it is the most popular one among its analogs (such as Vue.js or Angular.js). The main reasons why developers choose React over other alternatives include:
- creating code using the framework simplifies the process of front-end development;
- React accounts for the stable performance of the code and its easier maintenance further on;
- it’s advanced, convenient, and easy to use due to good UX;
- React is fast since its architecture was designed to deliver quick page loads, faster rendering, responsiveness, and user-friendliness;
- it “covers” important SEO-related points;
- if developing mobile apps, developers can use React Native.
Ways to implement Reactjs in Magento 2
There’s more than one option to select from in regards to applying React in Magento development. To a great extent, the choice depends on the preferences and skills of the developer who you'll turn to for . Let’s go over the three main possible paths.
1. With Just ReactJS
The first way deals with coding with ReactJS by yourself from scratch. This implies building components from the ground up as opposed to customizing ready blocks. In this scenario, you must create the architecture and every element on your own.
2. Via the PWA Studio
The PWA Studio is the official project by Magento that’s provided for the creation of PWA websites. It encompasses a set of ready-made components and architecture, required for building the Magento React storefront.
Noteworthy, the PWA Studio project is still under development, meaning that many parts of the “toolbox” are missing at the moment, others aren’t in their ready-to-use state, lack stability, and often don’t work properly. Nevertheless, you can take a look at how Magento’s PWA Studio project is currently turning out and browse the specific tools that developers can already get ahold of in this .
3. Using Third-Party Themes (Like the Scandi PWA)
The third option that is often used regards the alternatives to the PWA Studio. These are that are based on ReactJS and created by third-party developers.
At the time of writing this post, we’ve come across only one functioning theme of such, it’s called Scandi PWA. Yet we know for sure that there are many other companies that are developing such themes of their own.
In any case, Scandi PWA is an open-source solution that also offers ready-made components and functionality for building PWAs on Magento. You can find out more about the solutions that it provides in this .
In simple terms, the major difference between Scandi PWA and the PWA Studio lies in the architecture of the modules as well as in certain features. Mentioning the features, it’s fair to say that some of them are implemented in Scandi PWA, another functionality is available in the PWA Studio.
But frankly, the PWA Studio and Scandi PWA aren’t that dissimilar from each other. Yes, their architecture differs, but in the long run, they both reach the same results. The path you'll follow depends on the functionality you want to implement to the store, your budget, and the skills of your team.
Creating a highly customized PWA requires solid React.js and Magento experience from the developers you hire. If your team lacks the needed skills, turn to our professional for support.
The Pros & Cons of Using ReactJS, the PWA Studio, or Third-Party Themes in Magento Development
Now that you know the three ways how React is most commonly implemented in Magento, you might wonder which of them would fit best for your own project. Overall, we definitely recommend basing such a decision on your budget and your plan for the project’s further advancement and development. Below we’ll dwell upon the advantages and disadvantages of the given alternatives.
A) When is it worth opting for the PWA Studio or a third-party-developed theme?
1. Your team lacks vast ReactJS development experience and this is your first PWA project
In this case, it makes sense to opt for or some other third-party theme (as long as you make sure that it was created by trustworthy developers). This can help you cut down and even avoid silly mistakes that may happen with the Magento 2 React development. Topping that, as the PWA Studio—or some other theme you’re using—progresses, you can add on the new functionality to your website.
2. You’re not planning on creating a highly customized PWA
If your PWA will be more or less standard and won’t radically differ from what’s provided by the theme by default, then this option is okay. The same applies in case you’re not going to make drastic changes to the UX that’s provided by the PWA Studio (or the theme that you’ve chosen).
In such a situation, using what’s given by the ready-made theme will be more than enough for building your PWA. Be certain that the theme you’ll select doesn’t contain grand UX bugs that often appear on progressive applications.
3. You’re satisfied with the performance speed and the functionality offered by the toolbox
If you take a look at the demo PWA websites that were created based on pre-arranged solutions, such sites may appear slow and unstable to you. Note that optimizing it all on your own can be quite time and effort-consuming.
This is why before reaching a final decision, make sure that you’re okay with the performance that’s on offer by the toolkit that you’ll use as the basis of your development works. It’s worth noting though that even if you do choose the Studio or third-party theme and you won’t be happy about it, in the future you can give it up without too much loss.
Which downsides to note if you’ve selected the PWA Studio or a theme created by third parties?
1. You’ll have to deal with bugs and errors
Rightly, it can be said that since such theme projects are still in the development stage, the PWA Studio nor other themes aren’t entirely production-ready code solutions and don’t function impeccably. This code isn’t being created by your developers, nor has it been tested on numerous real projects.
Thus, since a large number of elements are still under construction, not all parts are fully tested and bug-free. Hence, in the long haul, your developers will have to face various errors and handle the vulnerable parts of the given code.
2. Not all of the features are covered yet
Many fundamental points are currently only on the roadmap to be developed. This means that as you create your progressive web app with this ready-to-build toolkit, there’s a very big chance that you’ll come across parts that are needed for the PWA but don’t exist in the toolkit yet, so, your developers will have to build custom solutions for them.
3. Universally-applicable code isn’t necessarily a good thing
The PWA Studio development team is aiming at creating a “one-stop” universal solution. In turn, this results in the superfluity of excessive code. What is more, it is very likely that you’ll waste additional time (if compared to the time you’ll need for doing the same in your own PWA that’s tailored just around you) on allocating and fixing bugs and on customizing such a “universal” code according to your needs.
4. There are peculiarities with customizing ready-made code
Due to the architecture of ReactJS, you’ll be copying those parts of the Studio code that you’re customizing. In case there will be many changes in your project, it’ll become impossible to update the PWA Studio. This means that you’ll be left with a customized ReactJS application that’s highly overloaded with PWA Studio data abstractions.
B) In which cases should you choose in favor of plain ReactJS coding?
1. If your team is experienced in ReactJS coding
Provided that your developers have a good command of React and clearly understand (or have researched and investigated) how the architecture of a PWA should be organized, you can consider this option. In simple terms, if your team is good at coding on ReactJS and has plenty of expertise with the framework, you don’t really need to rely on the samples that are given by the tool kits.
2. In case your to-be PWA store requires plenty of customization
Similarly, if you’re aiming to create a PWA that stands far from the standard ones, then coding from scratch is your route. Plus, this is also true if your product company is highly attentive to the details of UX and these details differ greatly from what’s provided by the PWA Studio or other theme solutions, like Scandi PWA.
In these scenarios, you should surely use just ReactJS since you’ll be focusing on custom development as opposed to tweaking and adjusting the existing solutions. Even if readily available, such out-of-the-box code was written by someone else, and on many occasions, it’ll take you longer to delve into it and understand how to customize it properly than to write the needed piece of code yourself. Moreover, building the Magento React frontend on your own will help you avoid “toolbox” errors, bugs, and excessive code situations.
What you’ll have to encounter if writing ReactJS code from scratch
1. Component architecture
One of the biggest challenges that you’ll have to face deals with laying out the component architecture correctly. When it comes to Magento 2 with Reactjs, this is, perhaps, the most important part.
Undoubtedly, frontend development experience will come in handy at this point, even if we’re talking about no previous experience with eCommerce projects. In the event that your frontend developer hasn’t worked with Magento before, turning to an experienced backend developer for assistance won’t hurt.
The bottom line here is that you can always take a sneak peek at the PWA code of the PWA Studio or Scandi PWA for inspiration or ideas. Elements that regard business logic (not UX and design) can be copied from there, modified, and implemented with minor changes.
2. Choosing the right libraries
Secondly, you’ll have to select proper ReactJS libraries (dependencies) and plug them in by your own efforts. It is crucial that you clearly understand that incorrectly chosen libraries can cause page load slow-ups and the deceleration of the work of the website, so you must be careful.
Disputably, you being the one responsible for libraries can actually be a good thing. Backing up this idea, we have stumbled upon nonoptimal library choices on certain PWA websites that use third-party themes before. Such irrational library use decisions have led to additional processor loads that, for example, gobble up the battery power of smartphones which is, by all means, a bad thing.
3. The question of old device support
Finally, what concerns the question of the support of old or outdated devices, you will need to strictly limit and single out only those devices or browsers that you will support. Otherwise, if you have the necessity to support old devices, the size of your application can end up being too large. This, in turn, may lead to the big problem of your PWA working at slow speeds even on modern devices.
How to Use React JS with Magento 2
Now that’s clear what React is used for in Magento and what are the possible paths that developers can take, let’s take a closer look at how it is applied.
1. eCommerce React components
As shortly mentioned earlier, React components, including UI components, are reusable. And to give you a better understanding of what they are like, below we provide a list of possible React components that can be used for eCommerce purposes:
- Menu Bar (Mobile/Desktop)
- Search Bar + Autocomplete
- Customer Address
- Address Finder
- Catalog Grid
- Catalog Filters
- Product Customization
- Customer Cart
- FAQ
- Customer Care
- Quantity Selector
- Add To Cart Button
- Custom Products List With Carusel (Featured / Recommendations / Best Sellers / Trending Products)
- Social Links
- Wishlist
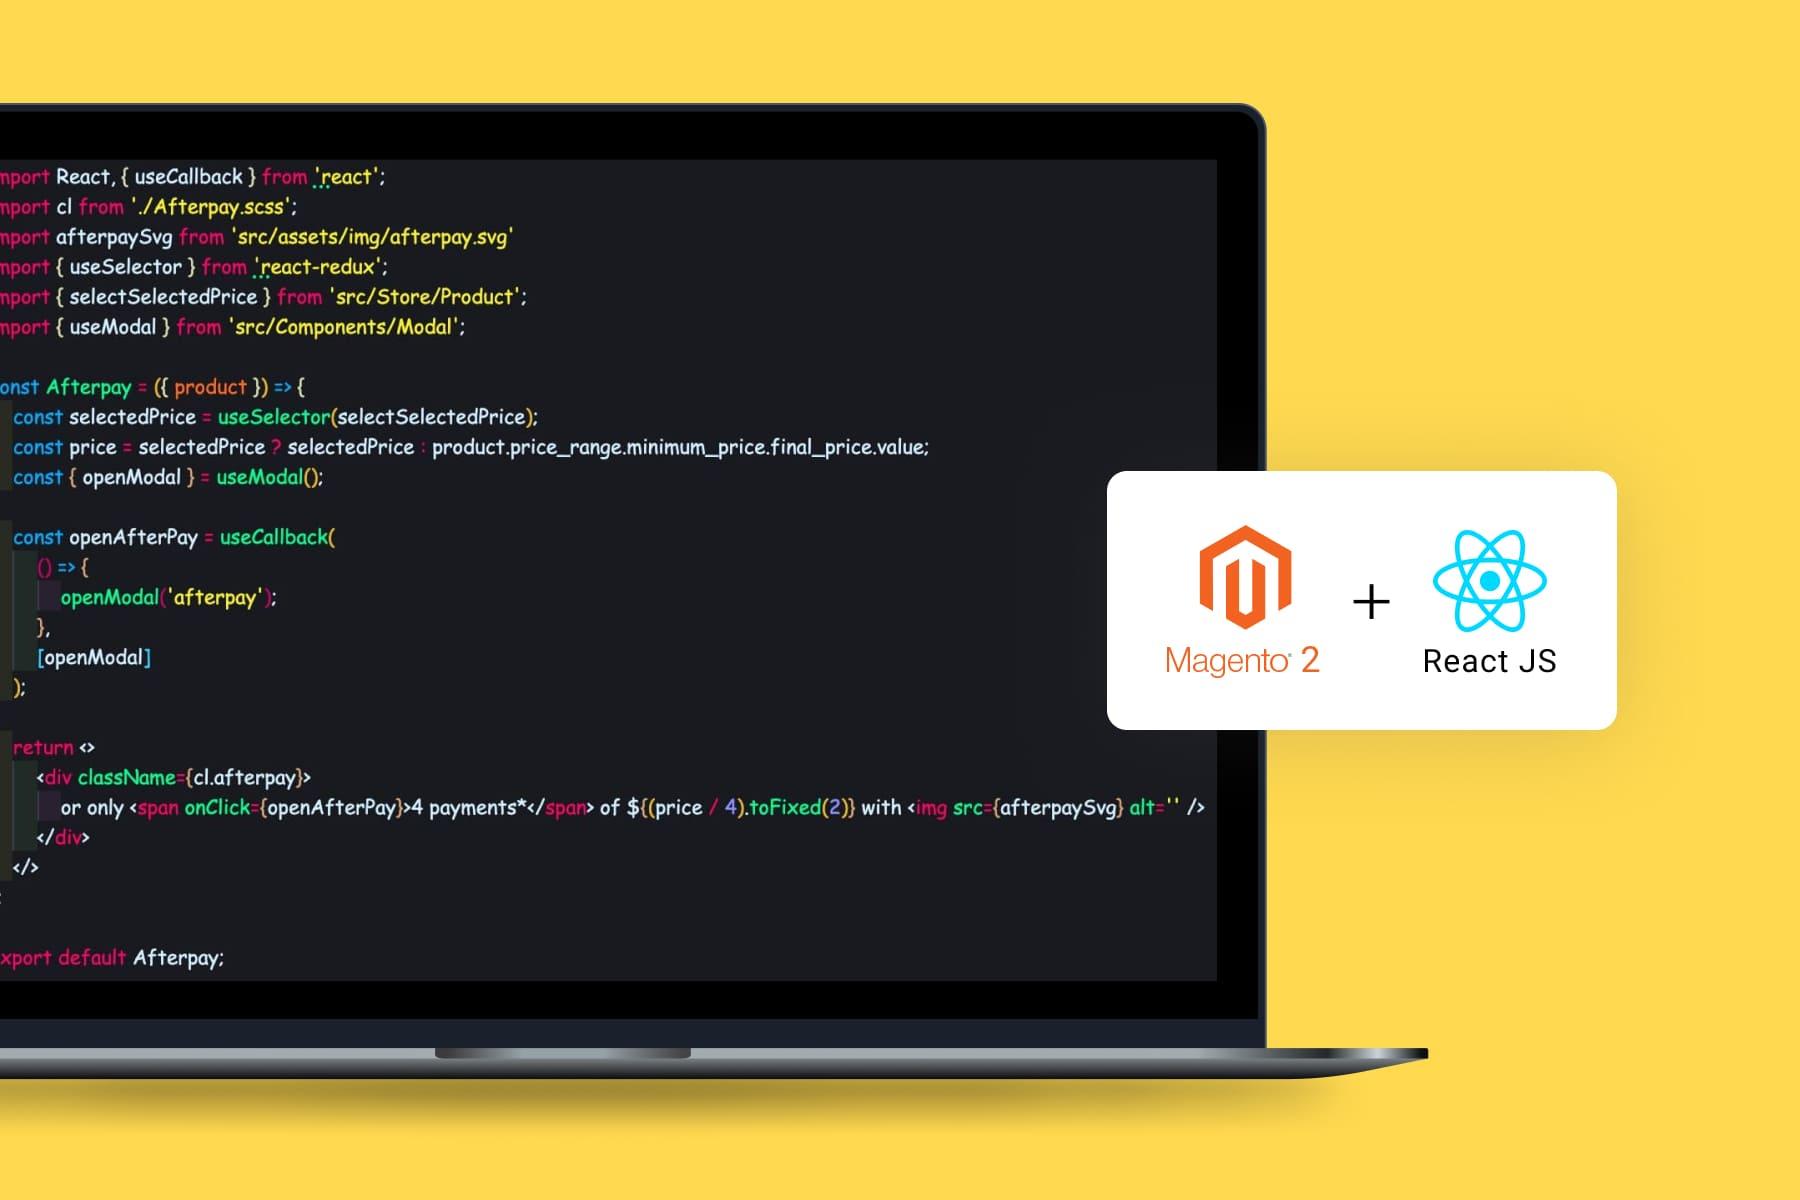
2. An example of React JS use with Magento 2
In this example, we explain the process of implementing ReactJS in Magento. Let’s go over the process step by step.
Step 1: Environment configuration
To implement React to Magento application we need to take care of a few things. Below you can see which commands to install.
- In order to launch the React app, first, install the nodeJS runtime environment in its required version. Then install the NPM for managing nodeJS packages.
sudo apt update
sudo apt -y install curl dirmngr apt-transport-https lsb-release ca-certificates
curl -sL //deb.nodesource.com/setup_12.x | sudo -E bash -- Next, install the ReactJS app right in the directory with Magento as shown in the example below.
cd {magento_project_dir}
npm create-react-app myReact
cd myReact- Third, we need the Webpack module bundler. It is a part of ReactJS by default, thus doesn’t need to be set up separately. Yet for our case, we’ll be configuring it in the step that follows.
Step 2: Setting up the Webpack for React
The webpack.config needs to be configured in such a way that it’ll be capable of reassembling our React application.Furthermore, we need the Webpack to update files in the module and to update files in the pub/static. This is necessary so that we don’t have to reassemble the pub/static files when the static:deploy command is launched.
The example of the webpack.config.js below allows generating React code. Insert the following webpack config code into the plugins. You may add the same one in the pub/static folder.
new FileManagerPlugin({
   events: {
       onEnd: {
           copy: [{
               source: path.join(__dirname, '../build/static/*.css'),
               destination: path.join(__dirname, '../../magento/app/code/My/React/view/frontend/web/css/react.css'),
           }],
       },
   },
   runTasksInSeries: false,
}),
new FileManagerPlugin({
   events: {
       onEnd: {
           copy: [{
               source: path.join(__dirname, '../build/static/*.js'),
               destination: path.join(__dirname, '../../magento/app/code/My/React/view/frontend/web/js/react.js'),
           }],
       },
   },
   runTasksInSeries: false,
}),
Step 3: Integrate the React app with Magento
Now we have a functioning React application. At this point, we only need to handle its integration with Magento. To do this, open the requirejs-config.js file and add a connection to the react.js file as shown below.
var config = {
   map: {
       '*': {
           react: 'My_React/js/main'
       }
   }
};
Step 4: Add a template to the Layout file
In the layout file on the necessary page, add a template that'll call the application and the styles.
<?xml version="1.0"?>
<page xmlns:xsi="http://www.w3.org/2001/XMLSchema-instance" layout="1column" xsi:noNamespaceSchemaLocation="urn:magento:framework:View/Layout/etc/page_configuration.xsd">
   <head>
       <title>My React</title>
       <css src="My_React::css/react.css" />
   </head>
   <body>
       <referenceContainer name="content">
           <block name="react" template="My_React::react_template.phtml"/>
       </referenceContainer>
   </body>
</page>
This is the template file in which the React application is called.
<div id="react_root"></div>

<script type="application/javascript">
  require(['react']);
</script>
Step 5: Changing the ID element
In our example, we used an element with the id-react_root. This is where our React application will be initialized.Change this element in the settings of the React app as well as in the file myReact/src/index.js.
Step 6: Build the ReactJS application
Finally, after creating the code, launch the npm build so that the Webpack could assemble the initial code and compile it into valid Javascript that’ll be executed by the browser.

40 Hours of Magento Services. FOR FREE
Try our custom development, optimization, support, and design services. One week, free of charge, no strings attached.
Common Points to Keep in Mind in the Course of ReactJS Development
Regardless of the frontend development path on Magento that you select, there are a few common tasks and problems that you’ll have to handle in any case. Below, we bring you a list of the major ones.
1. Interaction with Backend API
There’s more than one way or PWAs can interact with the backend. We recommend using GraphQL for web APIs as this technology establishes the quick interaction between the backend and the frontend, plus it’s capable of retrieving request-specific data in one call. You can read more about this query language, why, and how to implement it in our . In short, it’s already built into the platform and is officially developed by the Magento team.
2. Partially Developing Frontend Solutions for Modules
As strange as it may seem, 99% of the third-party modules that are handy for Magento PWAs are still missing GraphQL and ReactJS functionality. First of all, this regards custom modules. And even if you use those plugins that do have some GraphQL/ReactJS solutions, you’ll anyway be stuck with the necessity to develop the frontend part on your own.
3. Developing Missing GraphQL Functionality
Not all of the standard Magento functionality is available in GraphQL. From this, it follows that you’ll have to “fill in the blanks” with the missing parts here too. Check out this to find out what has already been done and what’s planned to be achieved.
4. Server-side Rendering
Lastly, there’s a colossal deal of things that need to be done in terms of server-side rendering. You can read more about this rather large chapter here.
Final Word
Undoubtedly, ReactJS plays an integral role in the creation of progressive web applications and in general. There are multiple paths you can take in terms of its implementation if you’re building your PWA on Magento 2. Yet regardless of customizing toolkit solutions or creating your own code from the ground up, React can certainly bring positive results of a quickly performing PWA. Not to mention that the can pleasantly surprise you!